Table of contents
- Why make your own cat treats?
- What should you keep in mind before making homemade cat treats?
- Recipe 1: Tuna catnip cookies — only 5 ingredients
- Recipe 2: 3-ingredient salmon crisps (minimal effort, maximum flavor)
- Recipe 3: Frozen tuna bites (a summer cooling essential)
- Recipe 4: Spinach and chicken cat cookies (a nutritional upgrade)
- Recipe 5: Tuna cheese rounds (a tasty challenge for the adventurous baker)
- How to tell if your cat likes the treats you made
- Frequently asked questions
- Final thoughts
Have you ever stood in the treats aisle of a pet store, flipped a bag over to read the ingredients, and felt a little overwhelmed by the long list of things you couldn’t pronounce? Or maybe you added up what you spend on cat treats each month and winced at the total? The good news is that making your own cat treats is much easier than you might think. With just a few simple ingredients and a basic home oven, you can whip up healthy, delicious homemade snacks for your beloved furry friend. This article brings together five DIY cat treat recipes that have been tried, tested, and loved by cat owners — ranging from super easy beginner-friendly options to slightly more ambitious versions. Whether your cat prefers fish or chicken, crunchy bites or cool frozen treats, there’s something here for everyone.
Why make your own cat treats?
Store-bought cat treats are convenient, but many contain artificial additives, preservatives, or excessive sodium that can put a strain on your cat’s kidneys and digestive system over time. The biggest advantage of homemade treats is complete ingredient transparency — you know exactly where every ingredient comes from and can adjust recipes based on your cat’s individual health needs. If your cat is allergic to certain proteins, you can easily swap ingredients. If your cat needs to manage their weight, you can keep precise control over calorie intake. Homemade treats also tend to be far more affordable than store-bought brands — the same budget goes much further, and the savings really add up over time. Most importantly, the act of preparing food for your cat is itself an expression of love. Watching them happily munch away on something you made with your own hands is a feeling no store-bought product can replicate.
What should you keep in mind before making homemade cat treats?
Before you get started, there are a few important principles to understand so that the treats you make are not only tasty but genuinely good for your cat’s health:
- Avoid ingredients that are harmful to cats: Onions, garlic, chocolate, grapes, alcohol, and similar foods are dangerous for cats. Be sure to keep these completely out of your recipes.
- Keep treat portions in check: Even though homemade treats are healthier, they still count as extra calories. As a general rule, treats should make up no more than 10% of your cat’s daily caloric intake to avoid disrupting their nutritional balance at mealtimes.
- Pay attention to shelf life: Homemade treats contain no preservatives, so they don’t last as long as commercial products. Always follow the storage instructions for each recipe — refrigerate or freeze as directed — and finish them within the recommended timeframe.
- Watch how your cat responds: Every cat is different. The first time you try a new recipe, offer just a small amount and observe whether your cat shows any signs of digestive upset or an allergic reaction. Once you’re sure everything is fine, you can gradually increase the portion.
With these basics in mind, let’s dive into the five recipes!

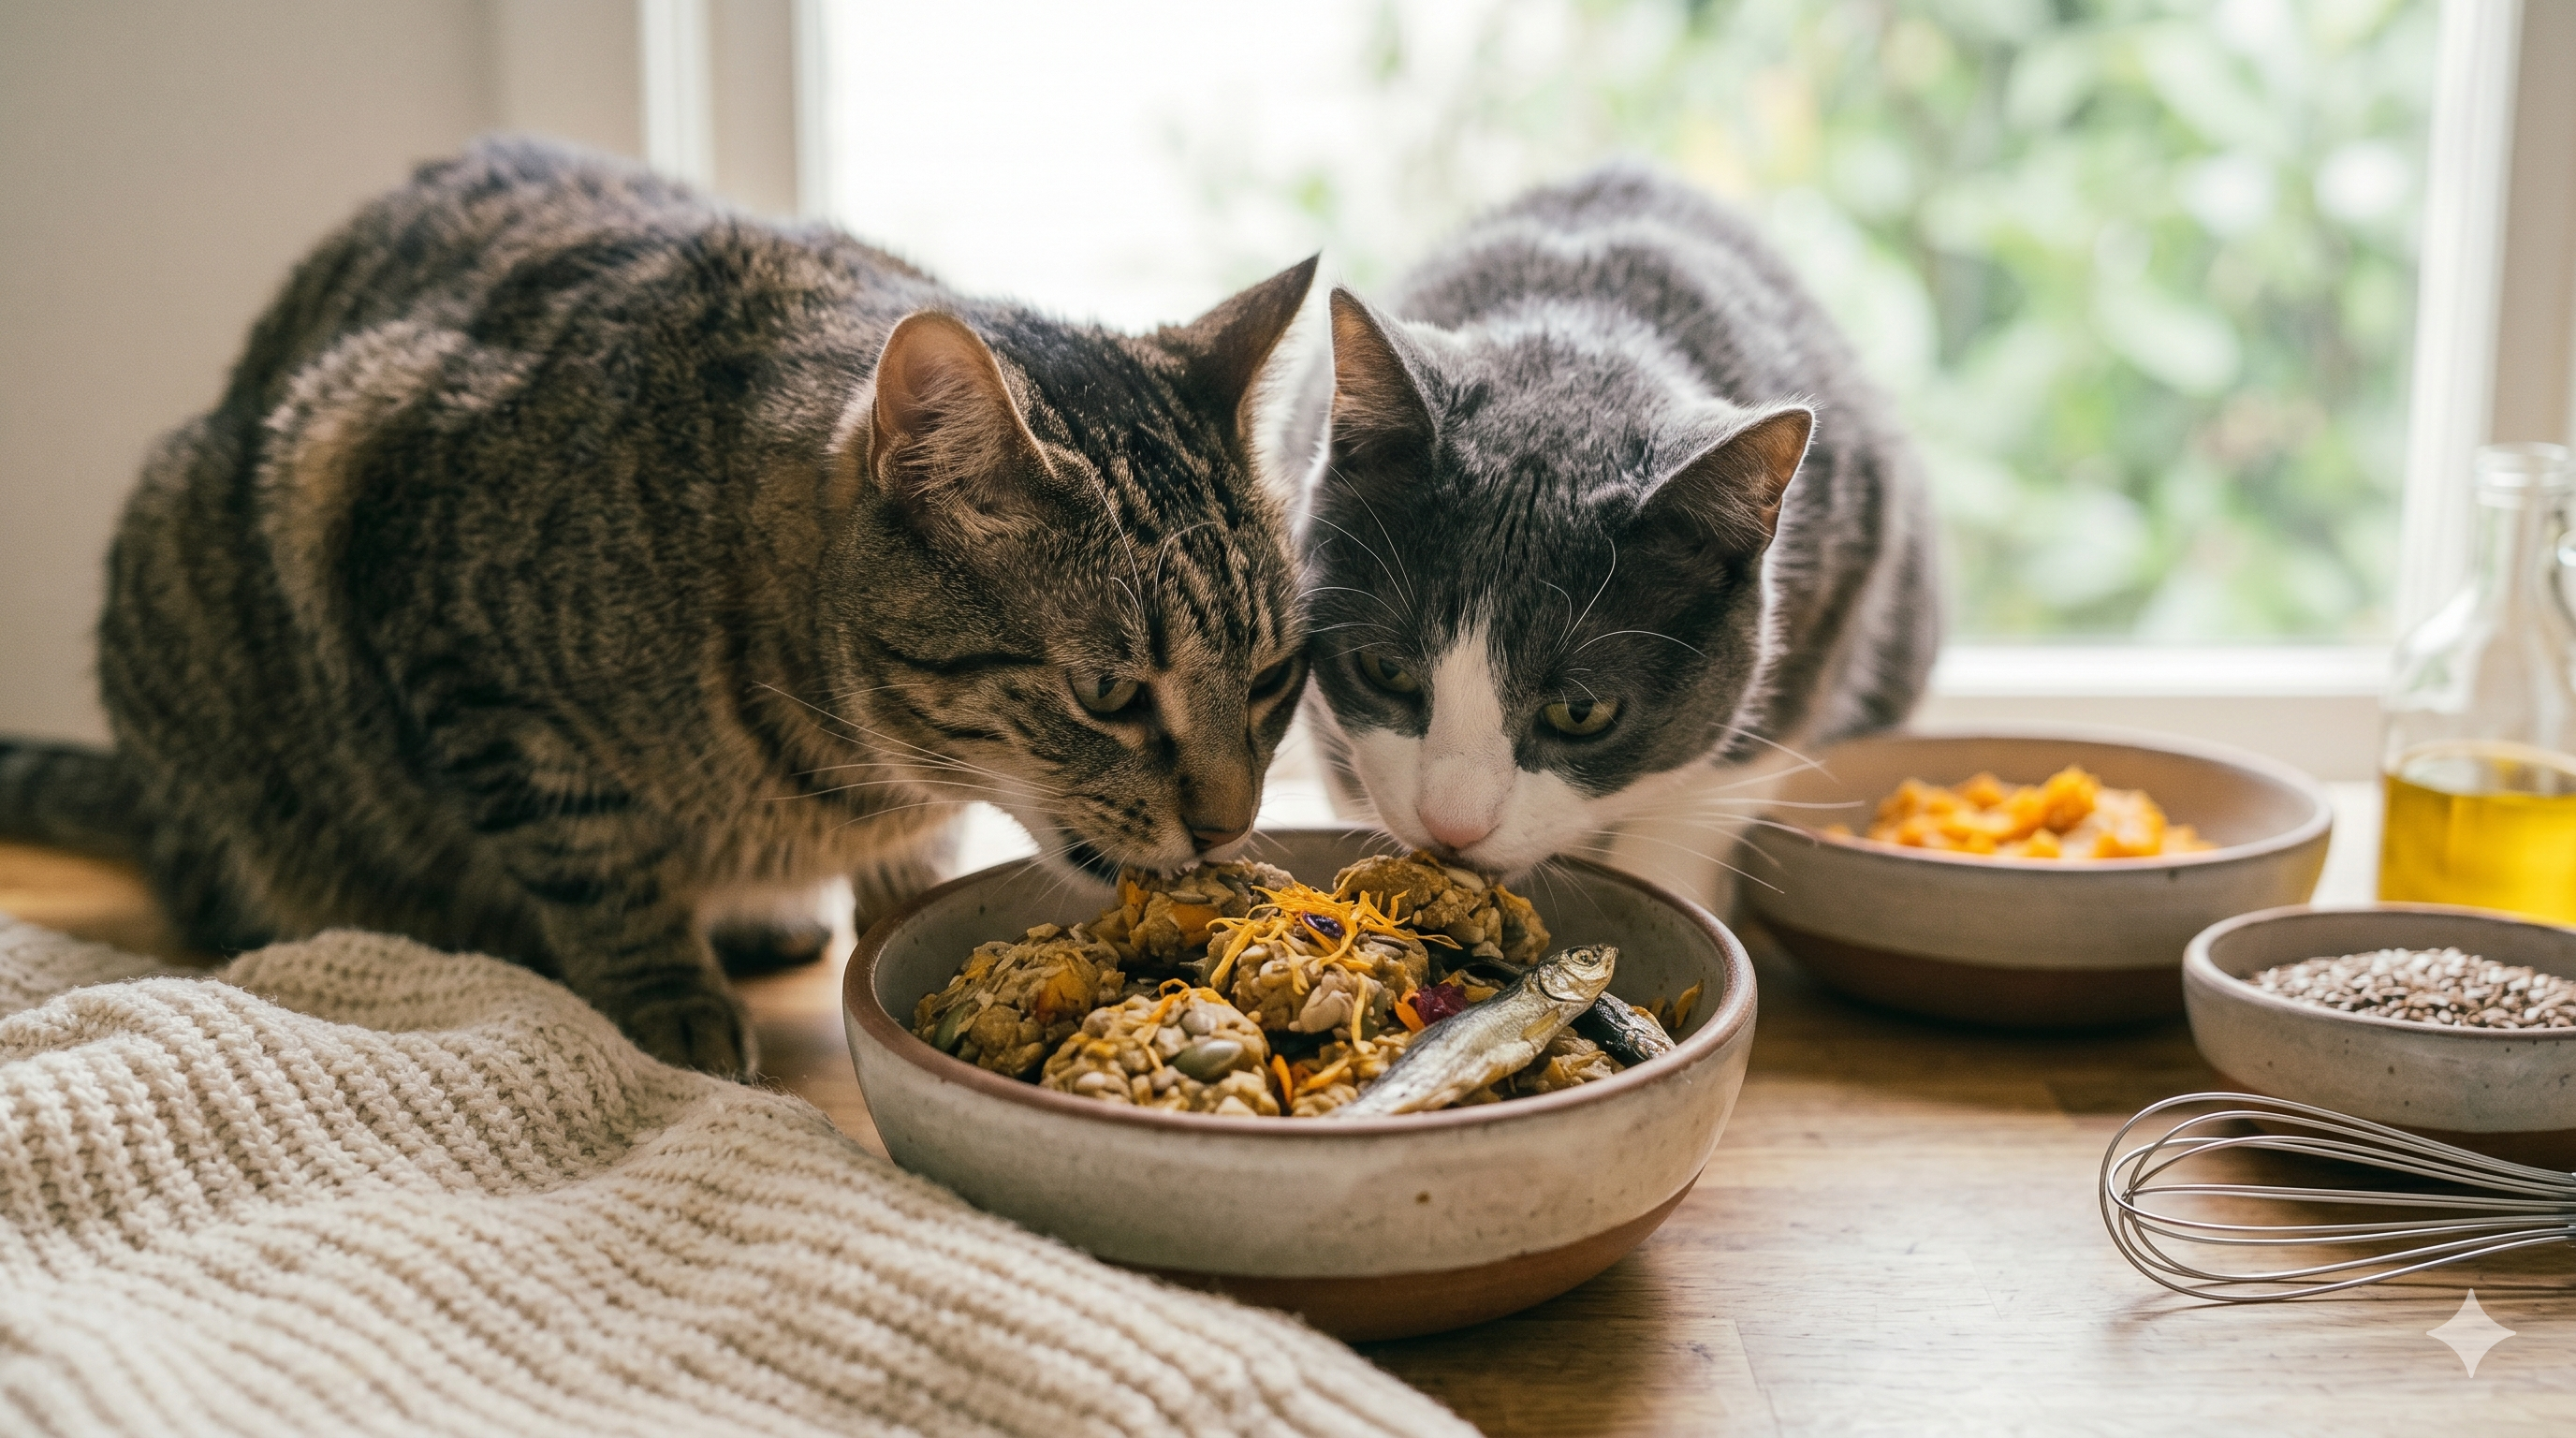
Recipe 1: Tuna catnip cookies — only 5 ingredients
This cookie recipe uses just five easy-to-find ingredients and is straightforward to put together, making it the perfect starting point for first-timers. Catnip’s aroma is nearly irresistible to most cats, and combined with the savory taste of tuna, it’s a combination very few cats can say no to.
Ingredients:
- 1 can of tuna in water
- 1 cup oat flour
- 1 egg
- 1 tablespoon olive oil
- Dried catnip, to taste
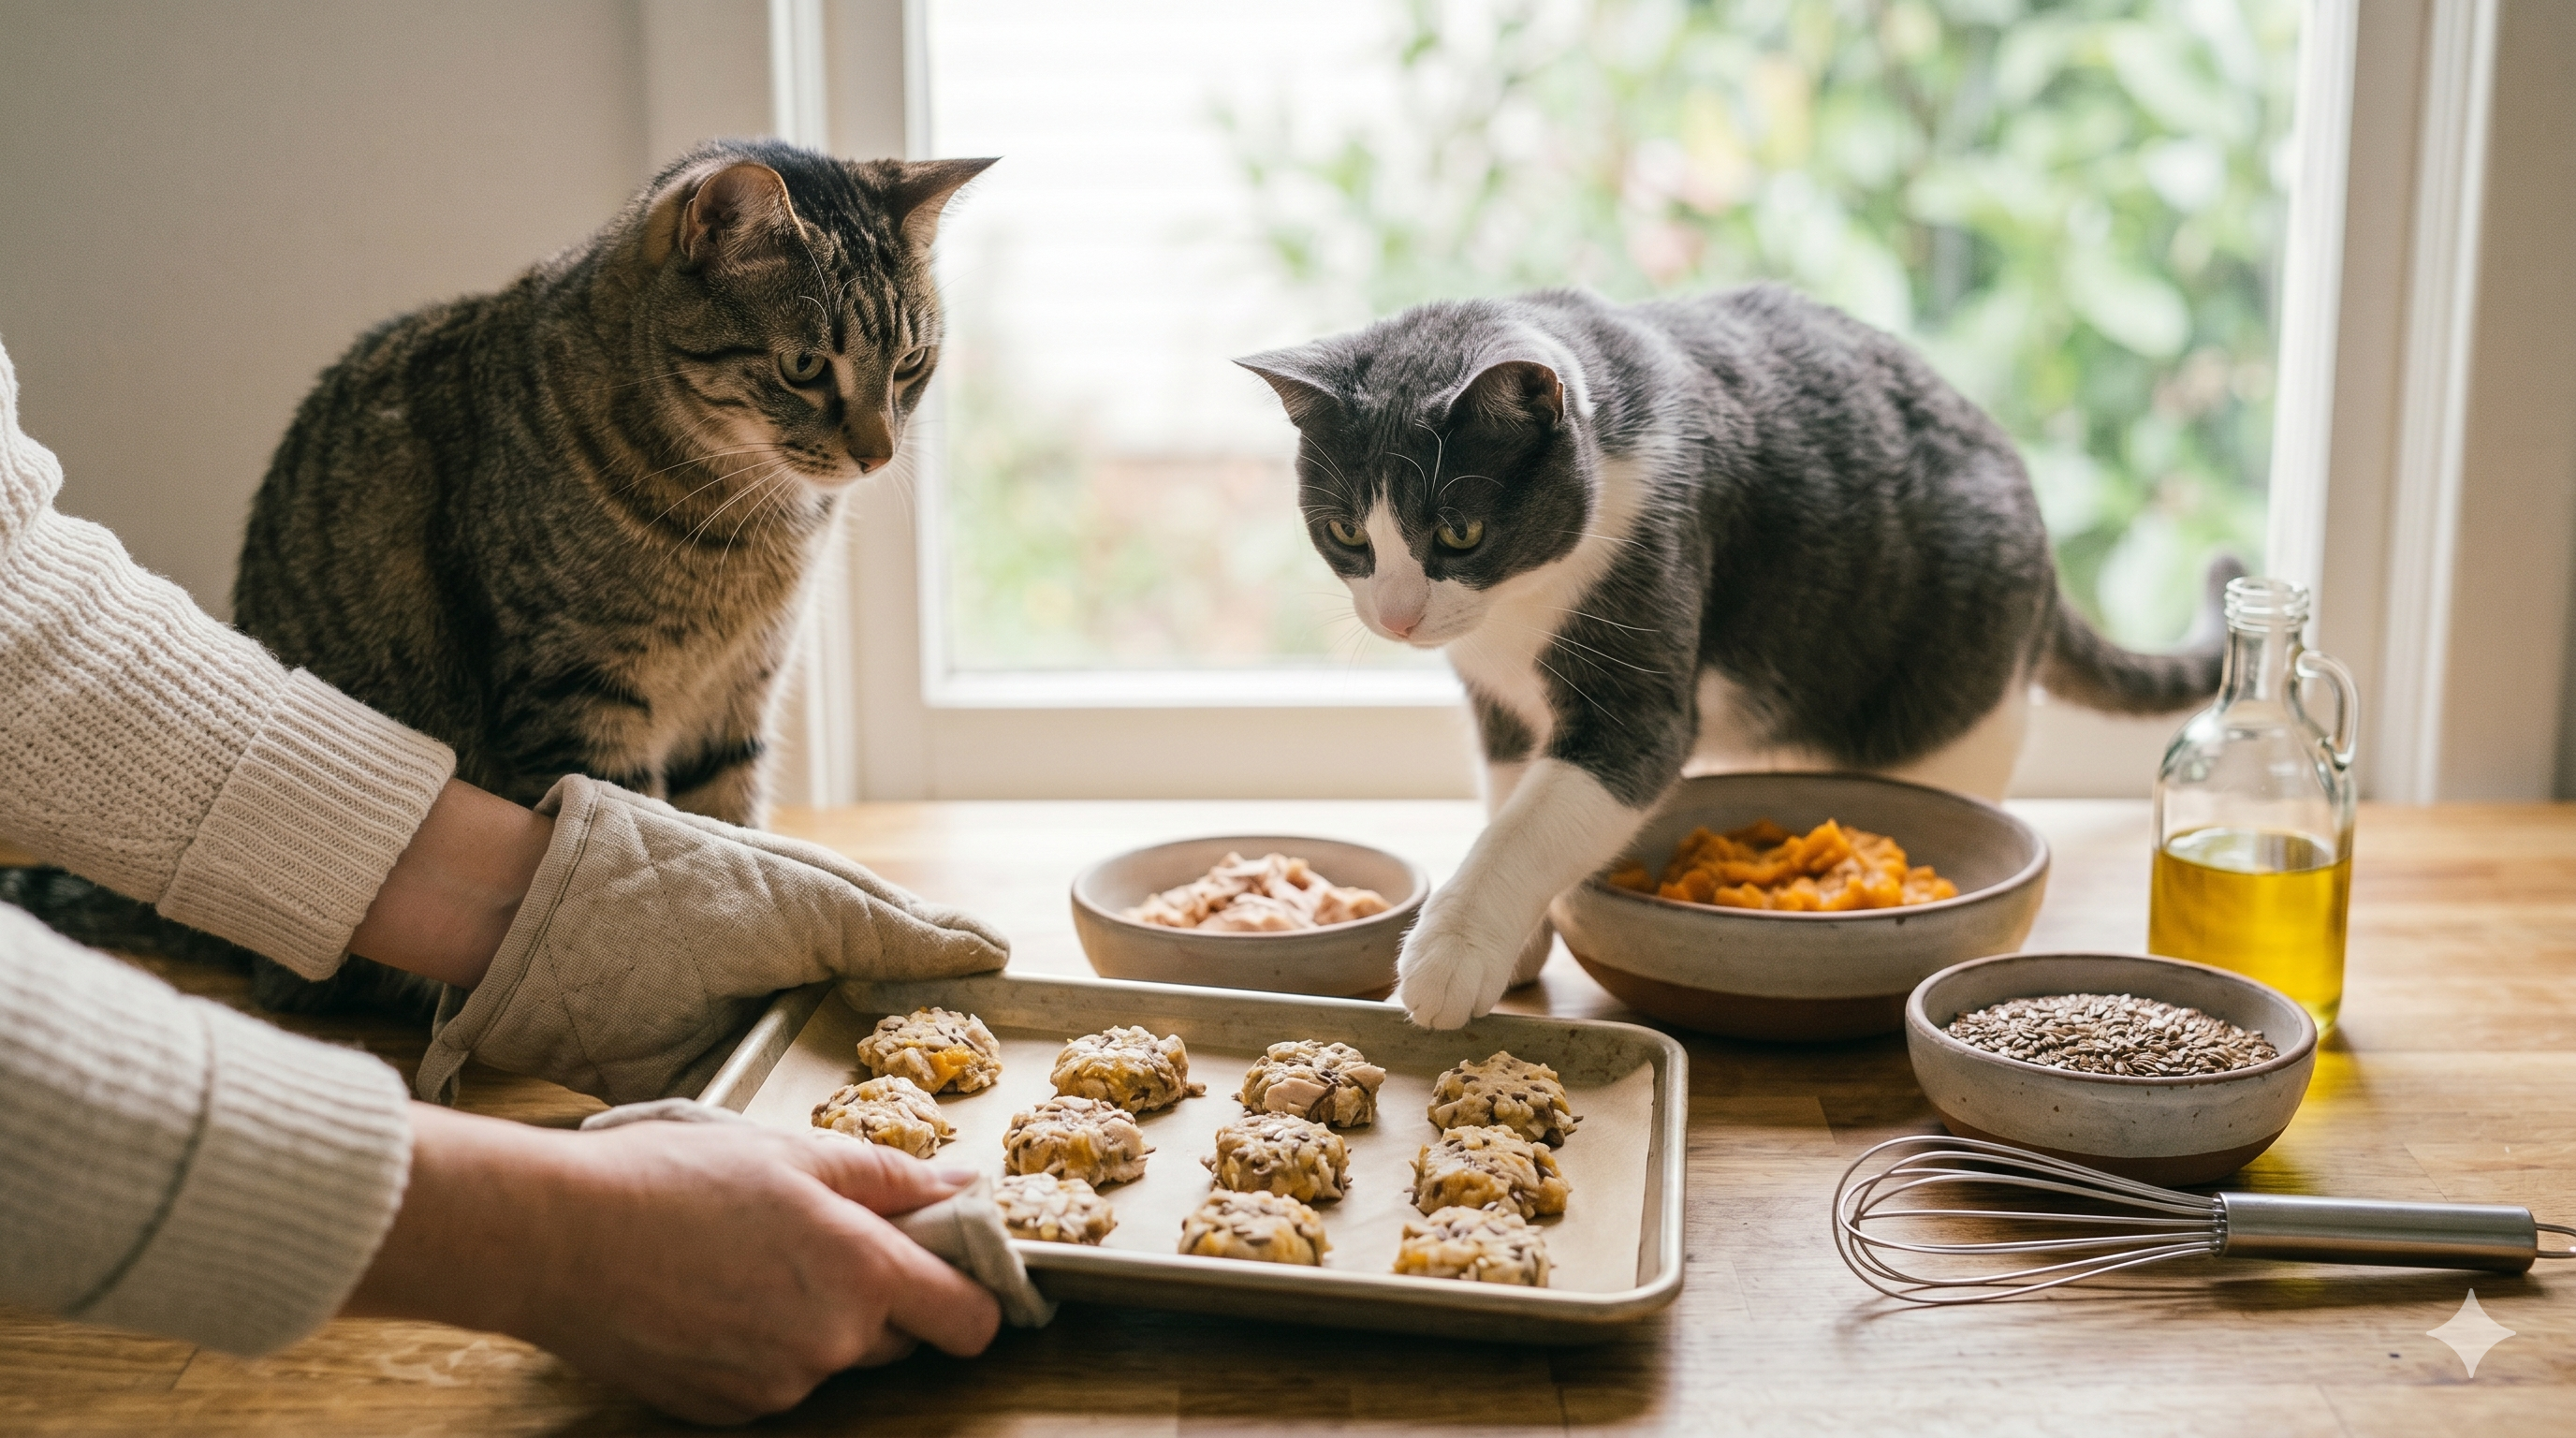
Instructions: Mix all ingredients together until well combined. Take small portions, roll into balls, and flatten them onto a baking sheet lined with parchment paper. Bake at 175°C (350°F) for about 15 minutes until golden brown.
- Difficulty: Beginner-friendly
- Time: Ready in about 30 minutes including prep and baking
- Storage: Keeps in the fridge for about 7 days
Recipe 2: 3-ingredient salmon crisps (minimal effort, maximum flavor)
If you’re after the ultimate in simplicity, these salmon crisps made with just three ingredients will genuinely impress you. Salmon is naturally rich in Omega-3 fatty acids, which do wonders for your cat’s skin and coat health. The satisfying crunch after baking is also a big hit with cats who love to chew — many cat owners report that their cats come sprinting over the moment they hear the treat container being opened.
Ingredients:
- 1 can of salmon
- 1 egg
- 1 cup whole wheat flour
Instructions: Drain the salmon, then mix it with the egg and flour to form a dough. Roll it out flat and cut into small squares, or use a cookie cutter to make fun shapes. Bake at 175°C (350°F) for about 20 minutes until crispy.
- Difficulty: Beginner-friendly
- Time: Ready in about 30 minutes including prep and baking
- Storage: Keeps in an airtight container at room temperature for about 2 weeks
Recipe 3: Frozen tuna bites (a summer cooling essential)
Summers can be hot and humid, and just like us, cats can lose their appetite in the heat. A cool frozen treat is the perfect solution. This recipe is easily the simplest of all five — no oven needed whatsoever, so even the most novice of beginners can pull it off without any stress. Just blend the contents of a can of tuna with a little water, pour the mixture into an ice cube tray, and freeze for a few hours. You can also swap the water for unseasoned chicken broth for a fun flavor twist that keeps things fresh and interesting for your cat.
Ingredients:
- 1 can of tuna in water
- Drinking water, as needed
Instructions: Mix the tuna and water together until smooth, pour into an ice cube tray, and freeze until completely solid.
- Difficulty: Completely effortless
- Time: About 15 minutes to prepare, plus 3–4 hours to freeze
- Storage: Can be kept frozen for up to 6 months
Recipe 4: Spinach and chicken cat cookies (a nutritional upgrade)
If you want to pack even more nutritional value into your cat’s treats, these chicken cookies with spinach are a great choice. Spinach is loaded with vitamins and minerals, and paired with high-quality chicken protein, these treats go beyond just being a reward — they’re a genuine nutritional boost. If your cat isn’t particularly interested in chicken, feel free to substitute their preferred protein, such as turkey or duck. One thing to note: spinach contains oxalates, so cats with a history of urinary tract stones should avoid it. In that case, you can replace the spinach with pumpkin purée, which provides an equally good source of dietary fiber.
Ingredients:
- ½ cup boiled chicken breast, finely chopped
- 2 tablespoons fresh spinach, finely chopped
- ½ cup rolled oats
- 1 egg
- Dried catnip, to taste
- ½ cup all-purpose flour
Instructions: Mix the chicken and spinach together, then add the remaining ingredients and knead into a dough. Shape small portions into little rounds and bake at 175°C (350°F) for 25 to 30 minutes until golden.
- Difficulty: Intermediate
- Time: About 1 hour including prep and baking
- Storage: Keeps in the fridge for about 7 days
Recipe 5: Tuna cheese rounds (a tasty challenge for the adventurous baker)
This recipe involves a few more steps, but the result is absolutely worth the effort. The rich aroma of cheese combined with the savory taste of tuna makes for what cats would probably call a five-star dining experience. One important thing to keep in mind: most adult cats have some degree of lactose intolerance, so the amount of cheese used must be kept small. If your cat has had an upset stomach after eating dairy in the past, it’s best to skip this recipe — or substitute the cheese with nutritional yeast, which delivers a similar flavor profile without the dairy.
Ingredients:
- 1 can of tuna in water
- 2 tablespoons shredded cheddar cheese
- 1 egg
- 1 cup oat flour
- Dried catnip, to taste (optional)
Instructions: Mix all ingredients together thoroughly, then roll into small balls and flatten onto a baking sheet. Bake at 175°C (350°F) for 25 to 30 minutes. Allow to cool completely before giving them to your cat.
- Difficulty: Advanced
- Time: About 1 hour including prep and baking
- Storage: Keeps in the fridge for about 1 week; freezing extends the shelf life
How to tell if your cat likes the treats you made
Once the treats are ready, the moment of truth — the taste test — is both exciting and nerve-wracking. Cats aren’t like dogs; they have very clear preferences when it comes to food. The first time you offer a new treat, place a small piece in front of your cat and watch their reaction. If they sniff it and walk away, don’t be discouraged — try again a few hours later. Some cats need several exposures before they’ll give a new food a chance. If they’ve ignored it three or four times in a row, that flavor probably just isn’t their thing, and it might be worth trying a different recipe. On the other hand, if your cat finishes the treat and starts licking their lips and circling your feet, congratulations — you’ve officially won over your little food critic.
Frequently asked questions
Q: Can homemade cat treats fully replace commercial cat food?
A: No, homemade treats cannot replace your cat’s regular meals. These recipes are designed as rewards or snacks and do not provide the complete range of nutrients cats need each day. Treats should make up no more than 10% of your cat’s daily caloric intake, and their main diet should still consist of nutritionally balanced cat food.
Q: How should I store homemade cat treats to keep them fresh?
A: Baked treats should be stored in an airtight container in the refrigerator, where most will stay fresh for five to seven days. If you’ve made a large batch, portion them out and freeze them — just thaw before serving. Frozen treats can generally last one to two months.
Q: What’s the difference between homemade and store-bought cat treats?
A: The biggest difference is ingredient transparency and freshness. Homemade treats contain no artificial additives or preservatives, and you have full control over the quality and source of every ingredient. Store-bought treats are convenient and have a longer shelf life, but some products may contain additives that aren’t ideal for your cat’s health.
Q: What should I do if my cat gets diarrhea after eating a homemade treat?
A: Stop giving that treat right away and monitor your cat to see if their condition improves within a day or two. If symptoms persist or worsen, take your cat to the vet as soon as possible. Digestive upset may be caused by an allergy or intolerance to a specific ingredient — next time, try making the recipe without the suspected culprit, such as dairy or a particular grain.
Q: How much does it cost to make cat treats at home?
A: Costs vary depending on the ingredients you choose, but most recipes use affordable, everyday items from the supermarket. Take the simple 3-ingredient salmon crisps as an example: one can of salmon, an egg, and some flour adds up to roughly NT$50–80, and that’s enough to make treats that last one to two weeks — far more economical than buying store-bought treats.
Q: Can kittens eat homemade treats?
A: It’s generally recommended to wait until kittens are at least four months old and eating solid food consistently before introducing treats. Kittens have more sensitive digestive systems, so start with very small amounts and avoid ingredients that may be harder to digest, such as whole wheat flour — finely milled white rice flour is a gentler alternative.
Q: Can I use raw meat to make cat treats?
A: Raw meat is not recommended for beginners. Raw meat can carry pathogens such as Salmonella or E. coli, which pose health risks to both your cat and yourself if not handled properly. All the recipes in this article use canned or cooked meat, which is safe, convenient, and much more practical for home use.
Final thoughts
Making homemade cat treats doesn’t require culinary skills or expensive ingredients — just a little love and some basic preparation to bring a whole lot of joy to your furry friend’s day. Start with the easiest option, like the frozen tuna bites, and gradually work your way through the other recipes. You’ll find that it’s not just a way to save money — it’s also a wonderfully rewarding experience that deepens the bond between you and your cat. Next time you turn on the oven, don’t forget to set aside a little something special for that picky little ruler of your household!
Whether you’re handcrafting treats or arranging daily care, every cat owner wants the very best for their pet. When you need to head out and can’t be there in person, the thoroughly vetted pet sitters on the Fluv platform can visit your home to look after your cat — with real-time photo reports to keep you worry-free, plus platform insurance for complete peace of mind:
Fluv exclusive offers | Limited-time deals for devoted pet owners
#Want the most stress-free in-home care experience for your pet?
🎁 New members — enter promo code
NEW95
Book now and enjoy a 5% discount!
👉 Looking for a caring, professional pet sitter for your furry friend?

Fluv founder Candace Chen
Forbes 30 Under 30 Asia | 2024 Tatler Gen.T Leaders of Tomorrow
As the founder of Fluv, Candace has leveraged exceptional business vision and execution to build the platform into Taiwan’s largest and most trusted pet care service.
- World-class recognition: Named to the Forbes 30 Under 30 Asia list and selected as a 2024 Tatler Gen.T Leader of Tomorrow.
- Backed by heavyweight investors: Successfully secured investment from Twitch co-founder Kevin Lin and influential venture firm SIC.
- Market leader: Has grown Fluv to a community of over 7,000 vetted professional sitters, trusted by more than 140,000 members.
Further reading:
Cat treats are more than just rewards! How to use them smartly to enrich your cat’s life
What can’t cats eat? 8 foods from your table that could be harming your pet
Views: 481